以前作成したAfterEffectsで作るLottieの記事の続編です。
あわせて読みたい
【Lottie】Illustratorで描いた絵をAfterEffectsで動かしてLottieとして書き出してWebページで動かす
(2023年11月追記)AfterEffectsよりシンプルで簡単に作れるLottielabのバージョンの記事も書きました。 https://deep-space.blue/web/3095 STEP 1. Illustratorで描い...
目次
STEP1. Lottielabでアニメーションを作る
Lottielabの使い方は「【LOTTIELAB】を使って簡単にアニメーションを取り入れよう!」など分かりやすい記事がありますのでそちらも参考にしてください。
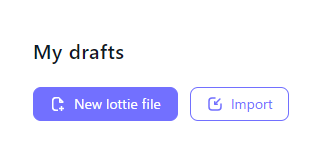
まずはアカウント登録&ログイン
https://www.lottielab.com/login
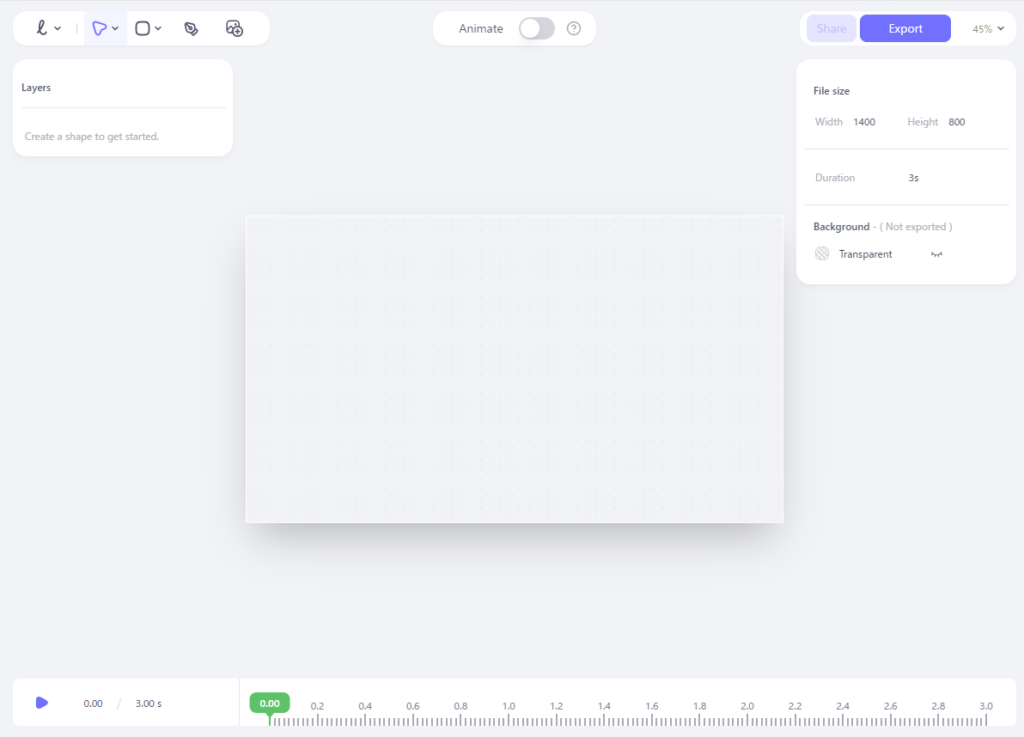
ファイルの新規作成
「New lottie file」からファイルを新規作成すると、アニメーション作成画面が開きます。
とりあえず以下を設定しておきます。
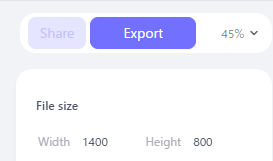
- 右側のFile size でカンバスサイズを設定
- 余分な余白のでないサイズにするとよいです
- 同じく右側のDurationでアニメーションの長さを設定
- 後から変更できます
アニメーションを作る
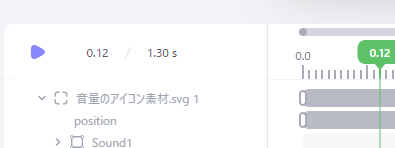
今回は適当なSVG画像をアニメーションさせたいので、SVG画像をドラッグアンドドロップで配置。
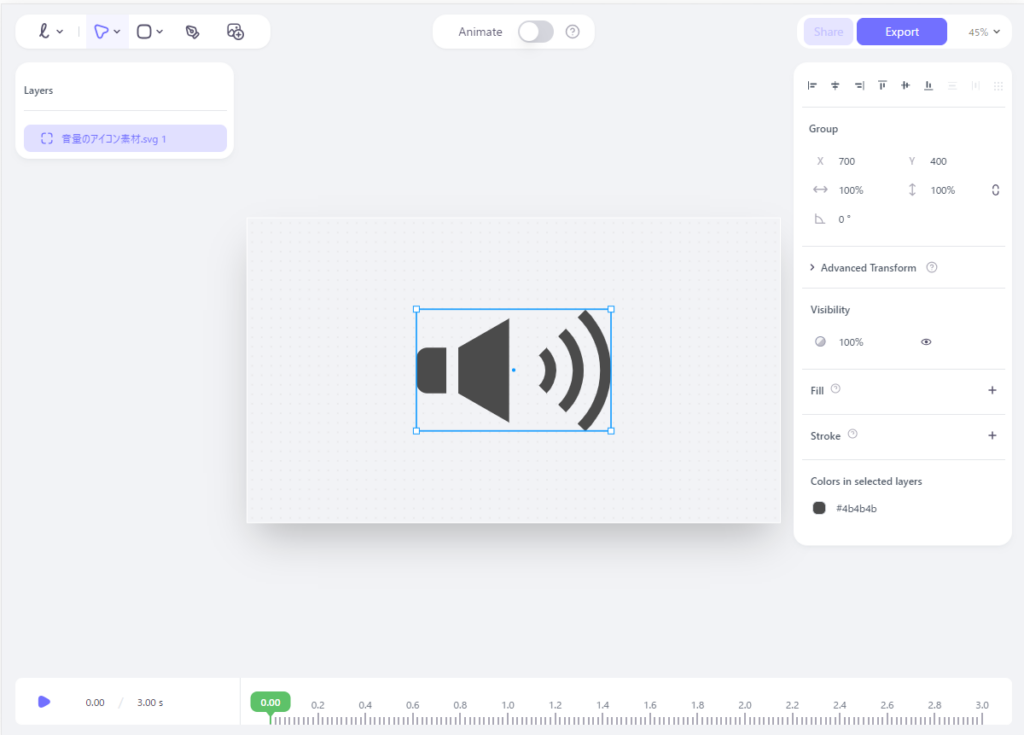
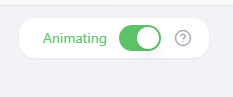
AnimatingをONにすると、画面の下にタイムラインが出ます。
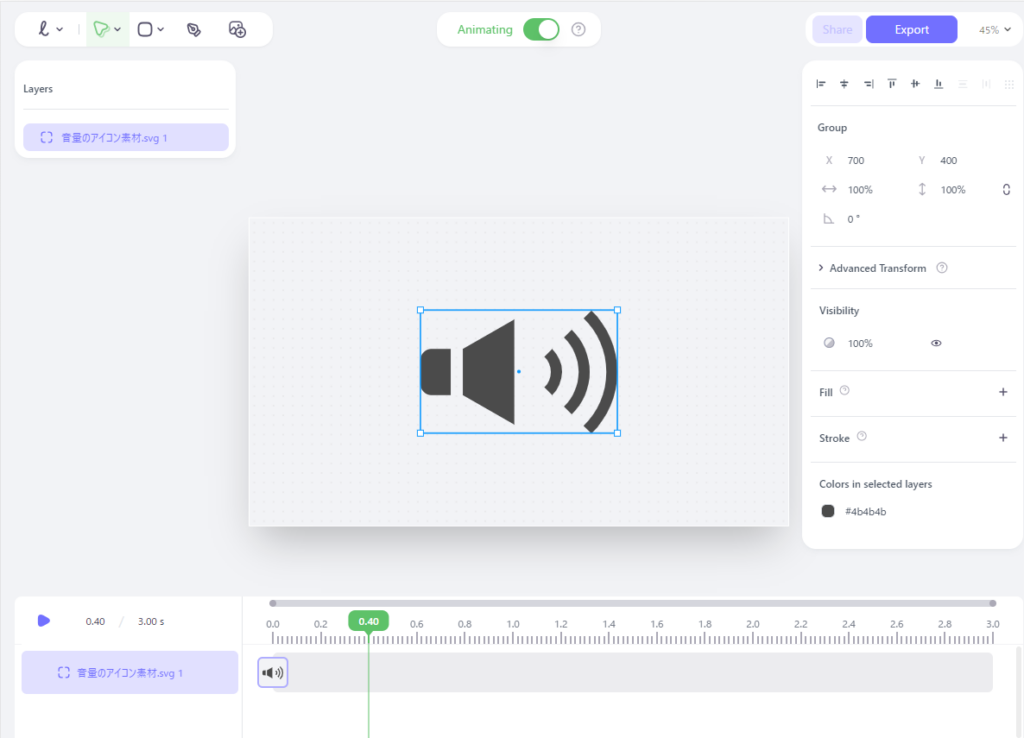
こんな感じでアニメーションタイムラインを作ります。
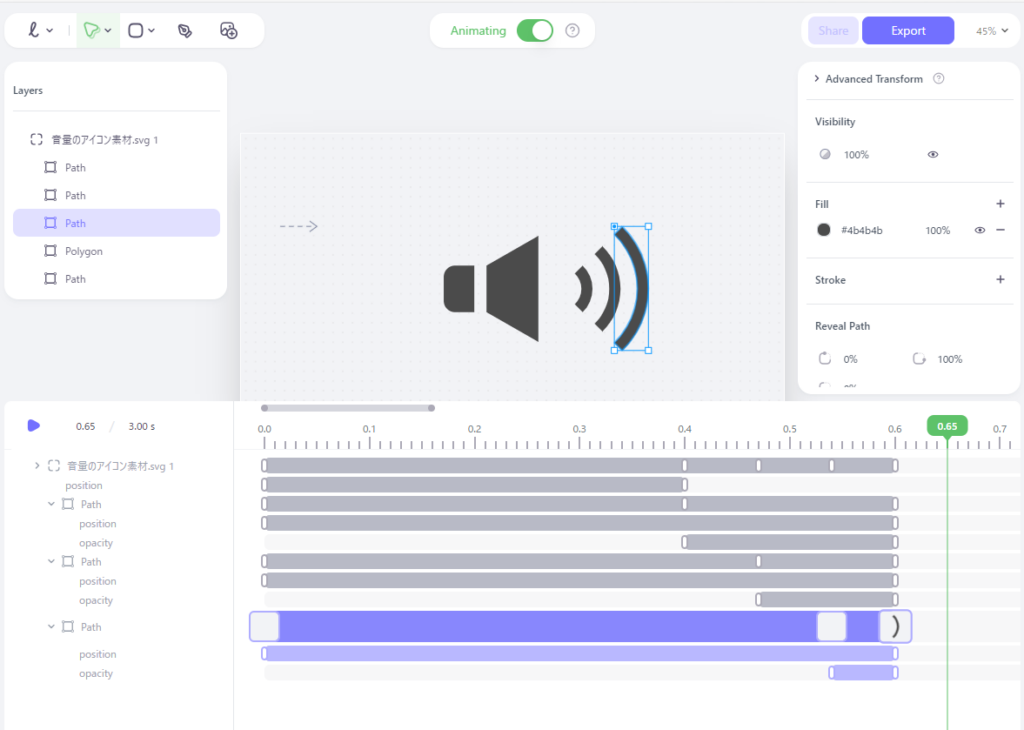
青い線の部分(はじめはLinear)をダブルクリックして、アニメーションの長さ(Duration)やイージング(Ease Curve)を設定できます。
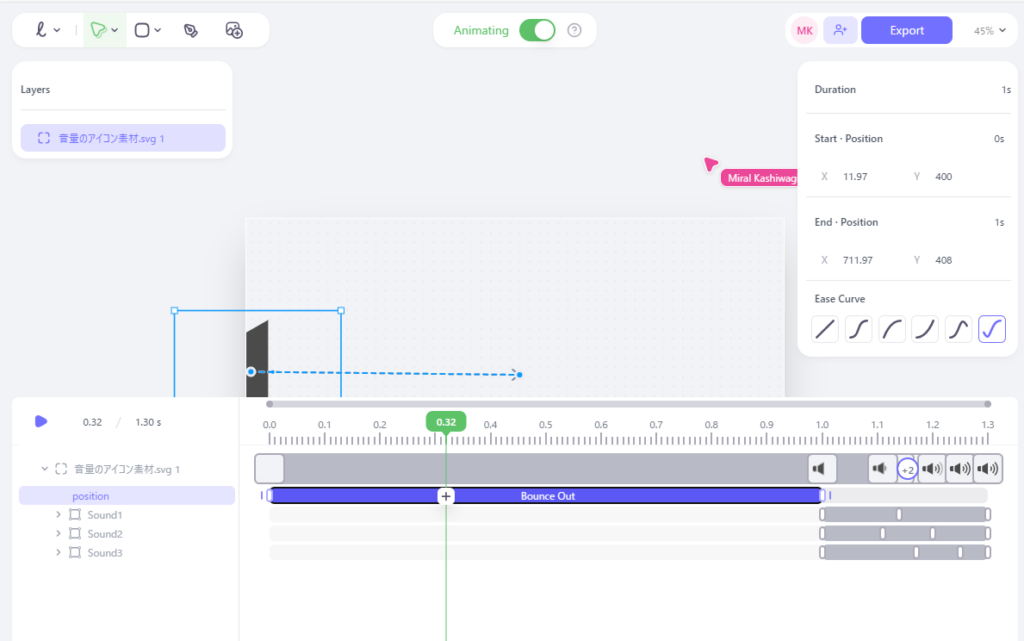
作成したアニメーションは、再生▶マークで再生して確認できます。
書き出し
アニメーションが完成したら「Export」からLottie (JSON) をダウンロードします。
※Downloadボタンをクリック

STEP 3. Webページで簡単に動かす
以下とだいたい同じです。
あわせて読みたい
【Lottie】Illustratorで描いた絵をAfterEffectsで動かしてLottieとして書き出してWebページで動かす
(2023年11月追記)AfterEffectsよりシンプルで簡単に作れるLottielabのバージョンの記事も書きました。 https://deep-space.blue/web/3095 STEP 1. Illustratorで描い...
サイトのオープニングアニメーションとして使う場合
デモ のページを開いた瞬間のアニメーション
<div id="enter-animation"></div>

<script src="https://cdnjs.cloudflare.com/ajax/libs/bodymovin/5.12.2/lottie.min.js"></script>

<script>
    const AnimationContainer = document.getElementById('enter-animation');
    const Animation = lottie.loadAnimation({
        container: AnimationContainer, // アニメーションを表示する要素
        renderer: 'svg',
        loop: false, // アニメーションをループさせるかどうか
        autoplay: true, // アニメーションを自動再生するかどうか
        path: './lottie.json', // jsonファイルのパス
    });

    window.addEventListener("pageshow",function (event) {
        // アニメーションスタート
        Animation.play();
        Animation.addEventListener('complete', function () {
            setTimeout(function () {
                // アニメーション終了後の処理※1秒待ってから実行
                AnimationContainer.classList.add('is-hidden');
                AnimationContainer.addEventListener('transitionend', function () {
                    AnimationContainer.remove();
                });
            }, 1000);
        });
    });
</script>
#enter-animation {
height: 100vh;
width: 100%;
/*width: 300px;*/
/*height: 300px;*/
background: #eee;
transition: opacity 1s ease-in-out;
position: fixed;
z-index: 1000;
}
#enter-animation.is-hidden{
opacity: 0;
}マウスオーバーに合わせて再生
デモ のオープニングアニメーション後、 > のアイコンにマウスをのせたとき
<button class="icon"></button>

<script src="https://cdnjs.cloudflare.com/ajax/libs/bodymovin/5.12.2/lottie.min.js"></script>

<script>
    // '.icon' クラスを持つ全ての要素を取得
    const buttons = document.querySelectorAll('.icon');
    // 各ボタンにイベントリスナーを登録
    buttons.forEach(button => {
        // Lottie アニメーションの設定
        const animation = lottie.loadAnimation({
            container: button, // 再生場所となる要素
            renderer: 'svg',
            loop: false,       // 繰り返しの有無
            autoplay: false,   // 自動再生の有無
            path: './icon.json'// アニメーションデータのパス
        });

        // マウスを乗せたら再生、はずれたら停止
        button.addEventListener('mouseover', () => animation.play());
        button.addEventListener('mouseleave', () => animation.stop());
    });
</script>
.icon {
width: 100px;
height: 100px;
border-radius: 100%;
border: none;
cursor: pointer;
}
コメント